


Concrete sculpture
OVERVIEW
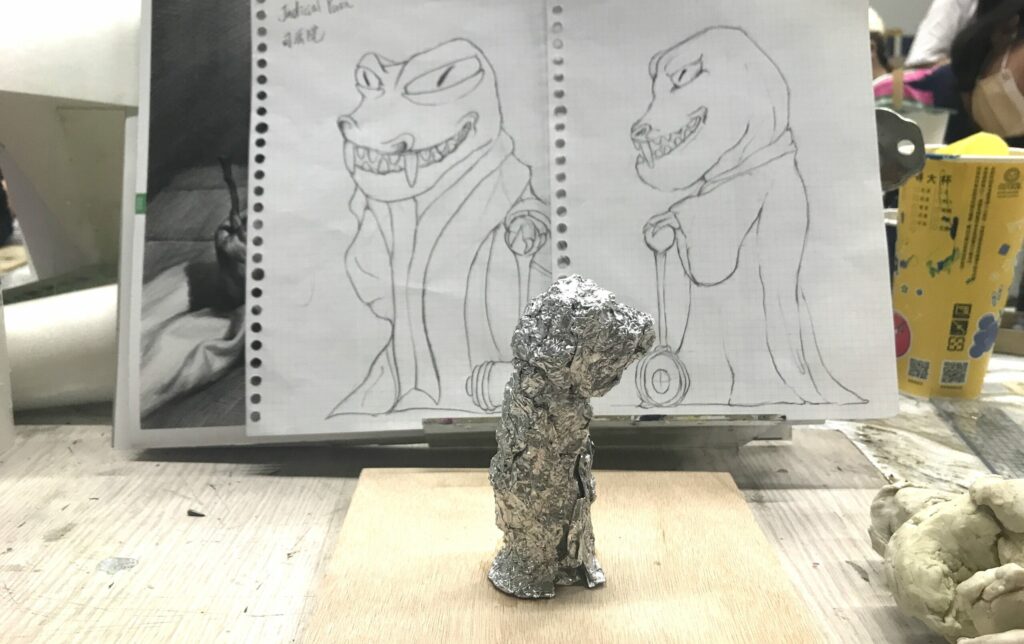
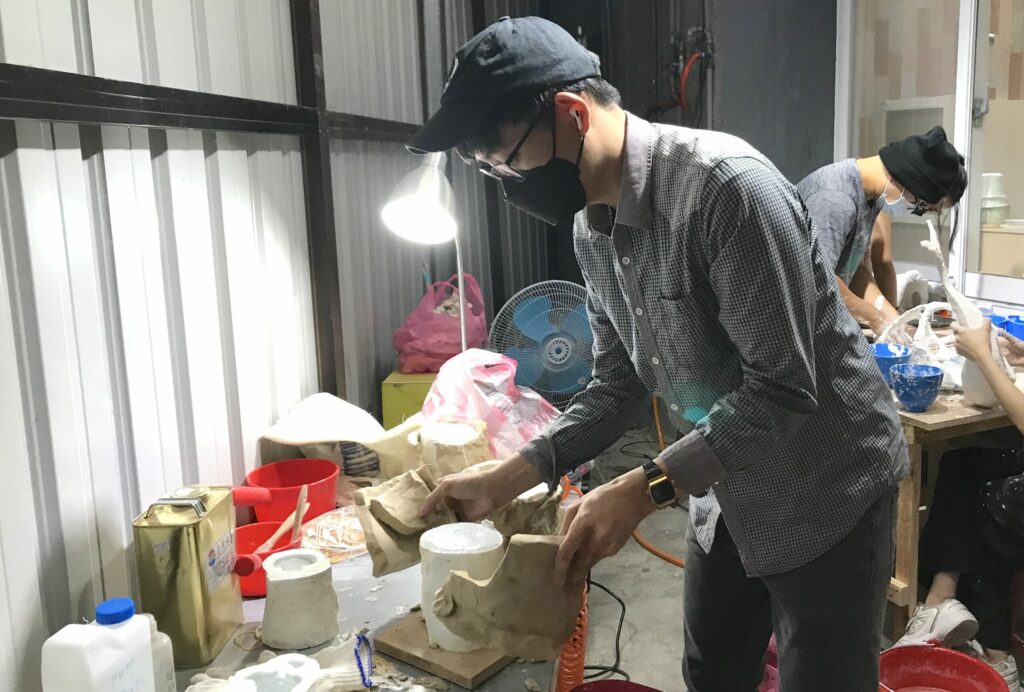
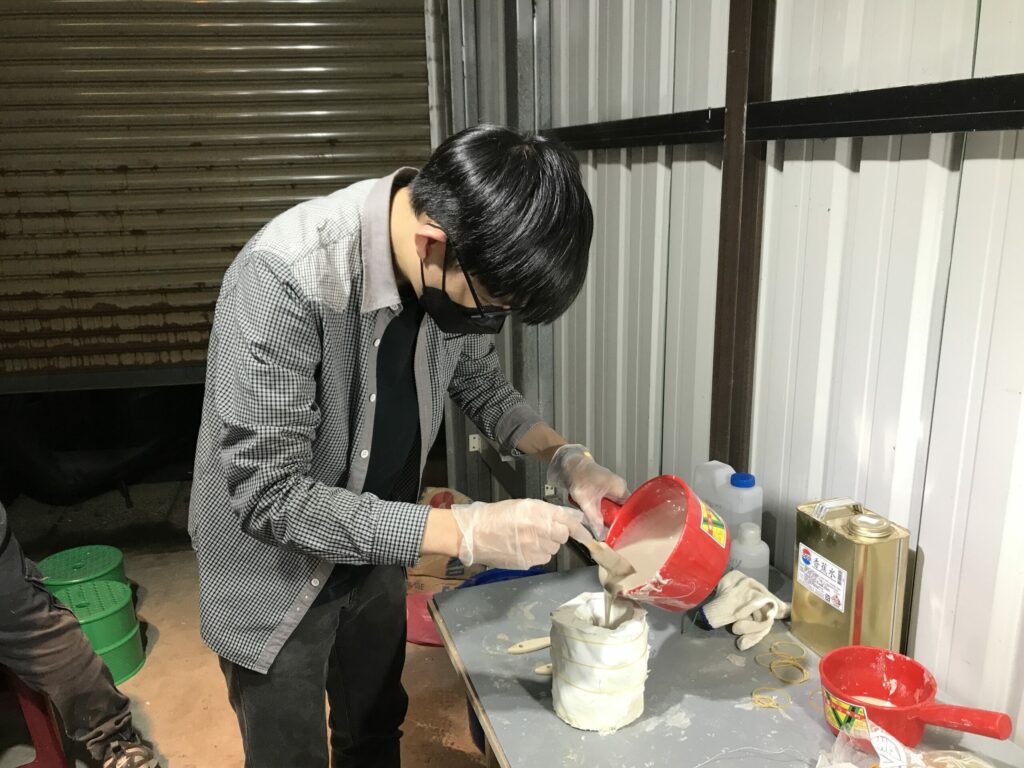
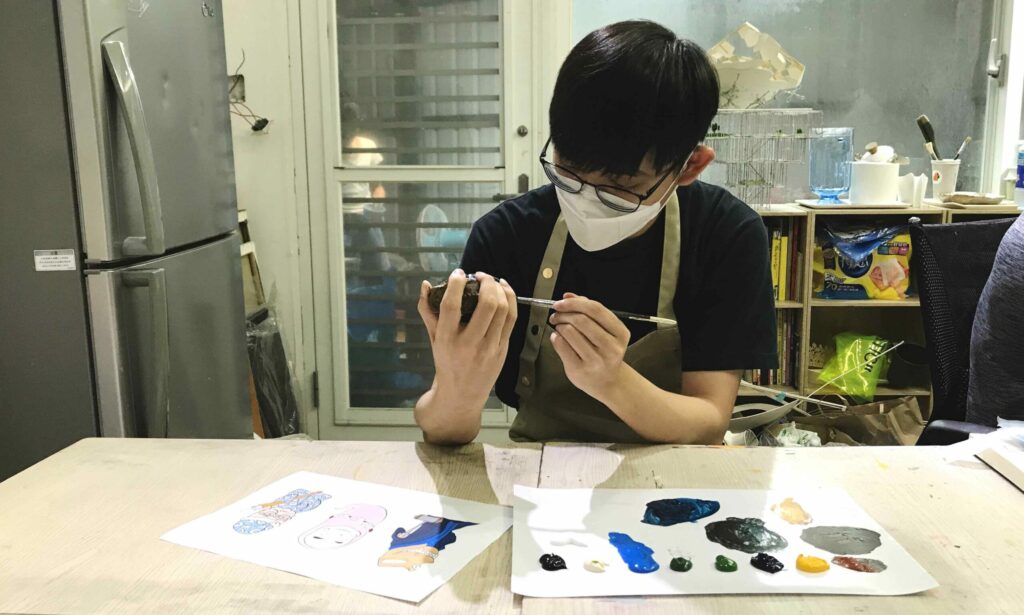
Through previous projects, I gained a better understanding of 2D design and 3D production processes. I then practiced transforming 2D designs into 3D sculptures by participating in a sculpture course. I chose to make a challenging character, a dinosaur. In this course, I completed two sculptures, one using concrete and abstract concepts, which laid the foundation for my future model-building.
Duration.
2023